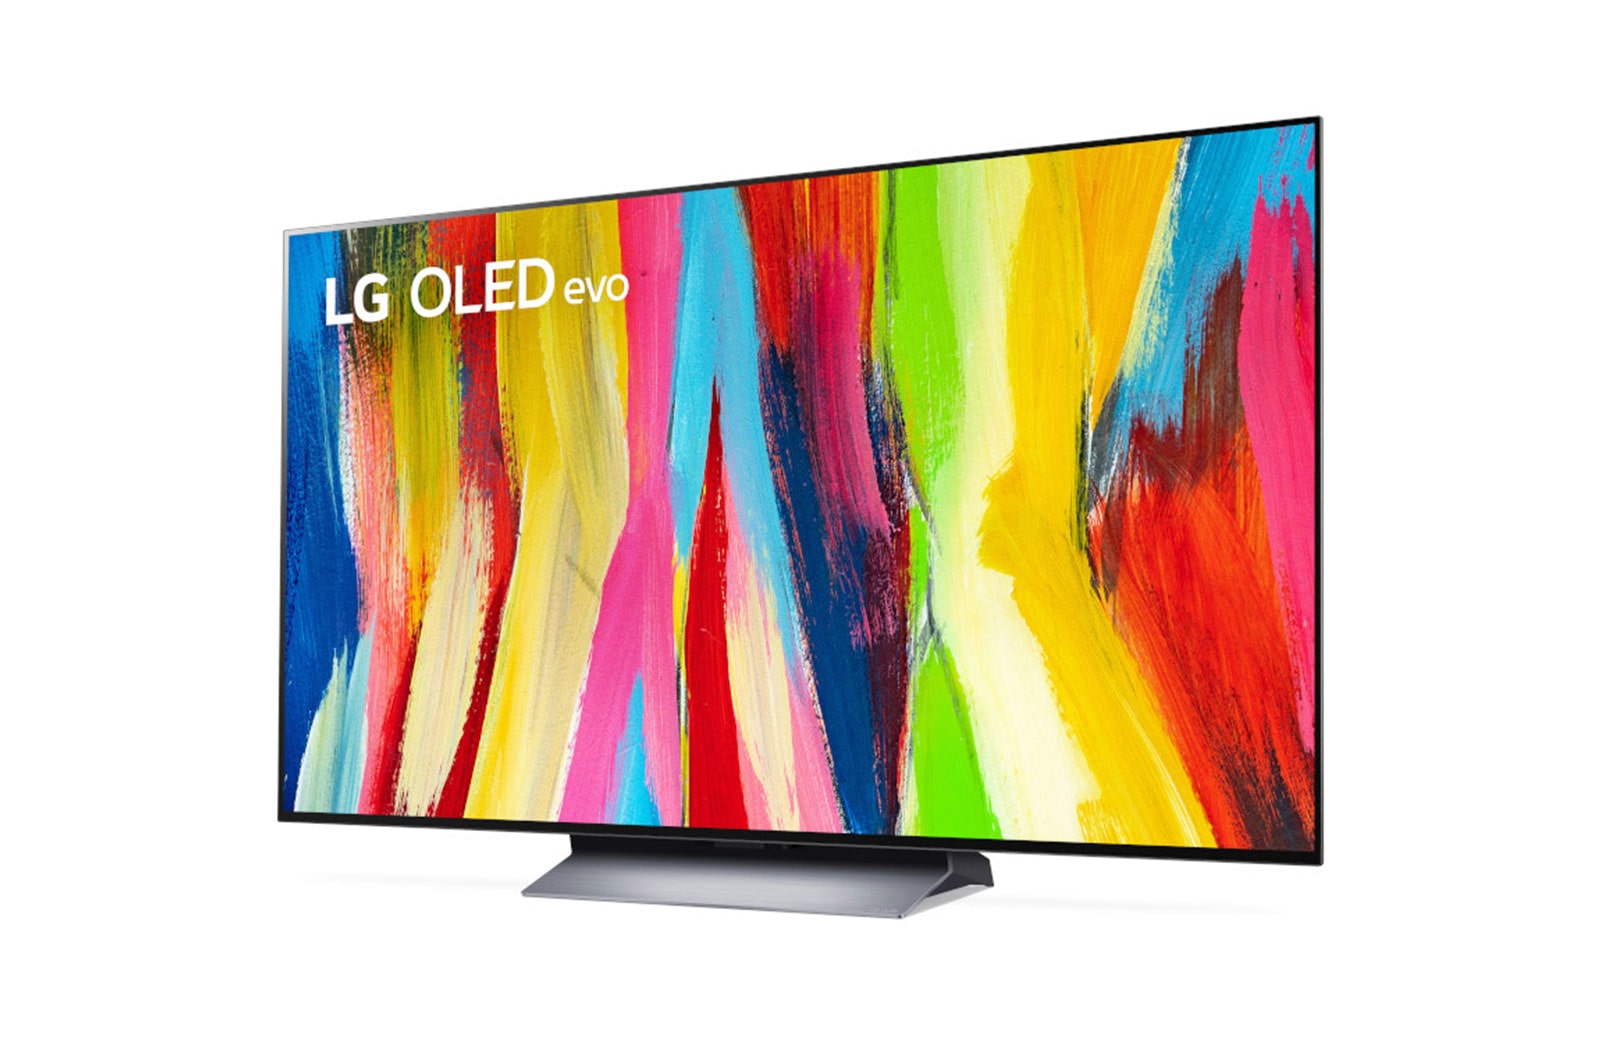
I recently bought an LG OLED TV from their C2 series (OLED55C2PUA to be exact). It was quite difficult to find reasonable settings to get a faithful image online, so I spent a few days tweaking things until everything looked OK to me. I hope you find this table useful when you end up searching for settings for your TV.
Step 0: Ensure you use HDMI 2.1 cables
To get the most out of your TV, you must use HDMI 2.1-compatible (also called “Ultra High Speed” or “48Gbps”) cables. Test your connected consoles and other devices after this setup sequence to make sure all expected capabilities are functional, including 120 Hz 4K video.
Step 1: Set up your TV
This step is tedious and repetitive, because you have to apply these settings once for every new input format that comes down the wire. I have no idea how many combinations of formats (4K, 1440p, 1080p, UHD, Dolby Vision, HFR, 60 Hz, etc) get assigned their own settings, but I spent dozens of minutes setting everything up over and over again because my game console decided to throw a different format on the screen. Be prepared to keep applying these settings until they stick.
General settings
I apply these settings to all my inputs. Skip over entries that are disabled.
General
AI Service
Turn off everything
Devices
TV Management
| Setting |
Value |
| Home/Store Mode |
Home Mode |
HDMI Settings
| Setting |
Value |
| HDMI Deep Color |
4K |
Picture
| Setting |
Value |
| Select Mode |
Standard (User Settings) |
Advanced
| Setting |
Value |
| Filmmaker Mode Auto Start |
Off |
| Reduce Blue Light |
Off |
Brightness
| Setting |
Value |
| Brightness |
80 (night) or 100 (day) |
| Contrast |
82 |
| Black level |
65 |
| Dynamic Tone Mapping |
HGiG |
| Peak Brightness |
Off |
| Auto Dynamic Contrast |
Off |
| Gamma |
2.2 |
| Video Range |
Auto |
| Motion Eye Care |
Off |
Color
| Setting |
Value |
| Color Depth |
55 |
| Tint |
0 |
| Color Gamut |
Auto detect |
| Fine Tune |
Off |
| White Balance |
0 |
Clarity
| Setting |
Value |
| Adjust Sharpness |
0 |
| Super Resolution |
Off |
| Noise Reduction |
Off |
| MPEG Noise Reduction |
Off |
| Smooth Gradation |
Off |
| Real Cinema |
On |
| TruMotion |
Off |
Gaming Settings
For inputs connected to game consoles, I like to enable Game Optimizer to reduce latency and support variable frame rates. Apply these settings in addition to the ones above.
General
Picture
| Setting |
Value |
| Select Mode |
Game Optimizer |
| Aspect Ratio |
16:9 |
Game Optimizer
Game
| Setting |
Value |
| Game Genre |
Standard |
| Reduce Blue Light |
Off |
| Dark Room Mode |
Off |
| Prevent Input Delay |
Standard |
| VRR & G-Sync |
On |
| AMD FreeSync Premium |
On |
| Fine Tune Dark Areas |
0 |
Picture
| Setting |
Value |
| Black Stabilizer |
10 |
| White Stabilizer |
10 |
Step 2: Set up your devices
Now it’s time to set up your connected devices. Game consoles, especially, need to be calibrated to take maximum advantage of your setup. Here are the settings that work for my XBOX Series X, PlayStation 5, and AppleTV 4K.
XBOX Series X
TV and Display Options
| Setting |
Value |
| Resolution |
4K UHD |
| Refresh Rate |
120 Hz |
Video Modes
| Setting |
Value |
| Allow 50 Hz |
On |
| Allow 24 Hz |
On |
| Allow auto low-latency mode |
On |
| Allow variable refresh rate |
On |
| Allow YCC 4:2:2 |
On |
| Allow 4K |
On |
| Allow HDR10 |
On |
| Auto HDR |
Off |
| Allow Dolby Vision |
On |
| Dolby Vision for Gaming |
On |
Video Fidelity & Overscan
| Setting |
Value |
| Overrides |
Auto-detect |
| Color Depth |
12-bit |
| Color Space |
Standard |
| Apps can add a border |
Off |
Select “Calibrate HDR for games” and follow the instructions.
Some games support 120Hz FPS Boost, but they must be enabled one at a time. Follow these instructions, but do not enable Auto HDR.
PlayStation 5
Screen and Video
Screen
| Setting |
Value |
| Adjust Display Area |
Set to largest size |
Video Output
| Setting |
Value |
| Resolution |
Automatic |
| VRR |
Automatic |
| VRR Apply to Unsupported Games |
On |
| 120 Hz Output |
Automatic |
| ALLM |
Automatic |
| 4K Video Transfer Rate |
Automatic |
| HDR |
On When Supported |
| Deep Color Output |
Automatic |
| RGB Range |
Automatic |
Select “Adjust HDR” and follow the instructions.
AppleTV 4K
Video and Audio
Run “Check HDMI Connection” before proceeding.
| Setting |
Value |
| Format |
4K Dolby Vision |
| Match Dynamic Range |
On |
| Match Frame Rate |
On |
Step 3: Enjoy
These settings yield high quality images for me, free from artificial boosts and trickery. Dolby Vision looks great. Games run at 120 Hz without issues.
If the image suddenly gets way too bright or otherwise looks much too punchy, go through the TV setup steps again. Your TV has likely encountered a new video format and has reset to its default settings.
Have fun!
